Introduction
Denim jackets are a classic wardrobe staple that can be customized to reflect your personal style. One way to do this is by painting your denim jacket. However, before you begin your project, it is important to properly prepare your jacket to ensure that the paint adheres well and the finished product looks professional.
Step 1: Gather Materials
To prepare your denim jacket for painting, you will need the following:
- Denim jacket
- Sandpaper (medium-grit)
- Scissors
- Masking tape
- Drop cloth or plastic sheeting
- Acetone or rubbing alcohol
- Soft-bristled brush
- Paint (acrylic or fabric paint works well)
- Paint brushes or sponges
- Clear sealer (optional)
Step 2: Clean the Jacket
Before you begin, it is essential to clean your denim jacket to remove any dirt or debris that could interfere with the adhesion of the paint. Use a soft-bristled brush and a small amount of acetone or rubbing alcohol to scrub the jacket’s surface gently. Be sure to pay extra attention to any areas that may have been exposed to oils or other stains. Allow the jacket to dry completely before moving on to the next step.
Step 3: Sand the Surface
Using medium-grit sandpaper, gently sand the surface of the denim jacket to create a rough texture for the paint to adhere to. Be sure to sand evenly and pay extra attention to areas exposed to oils or other stains. Once you have finished sanding, use a soft-bristled brush to remove any dust or debris left over from the sanding process.
Step 4: Mask Off Areas You Don’t Want to be Painted
Use masking tape to cover any areas of the denim jacket you do not want to be painted. This could include pockets, zippers, buttons, or any other hardware. Be sure to press the tape down firmly to ensure that no paint seeps under the tape.
Step 5: Prep Your Painting Area
Set up your painting area by laying down a drop cloth or plastic sheeting to protect the surface underneath your denim jacket. Place your jacket on the cloth and ensure that it is in a comfortable position to work on.
Step 6: Apply Paint
Using a paintbrush or sponge, apply paint to your denim jacket. Be sure to work in small sections and use light, even strokes. Allow the paint to dry completely before applying additional coats. You may need to apply multiple coats to achieve the desired level of coverage.
Step 7: Seal the Paint (Optional)
Apply a clear sealer over the top to protect your painted denim jacket and ensure that the paint lasts as long as possible. This will help to resist fading, cracking, and peeling of the paint.
Step 8: Remove the Masking Tape
Once the paint has completely dried, carefully remove the masking tape from the denim jacket. Do this slowly and carefully to avoid pulling off any paint.
Step 9: Allow the Jacket to Dry
Allow the painted denim jacket to dry completely before wearing or washing. This process can take several hours or even a day, depending on the paint and sealer used.
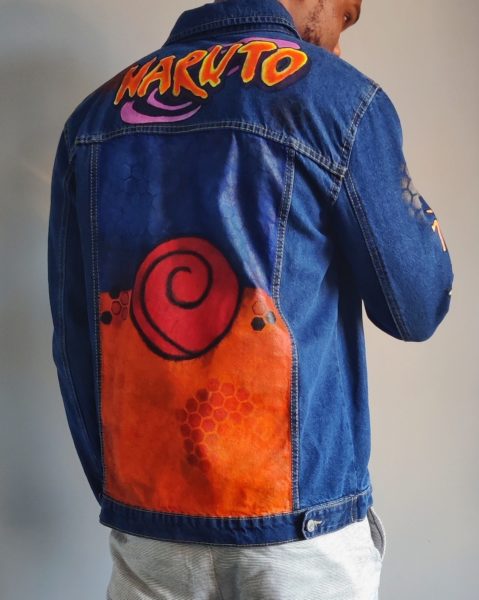
Following these steps, you can prepare your denim jacket for painting and create a unique and personalized wardrobe staple. With creativity and some basic materials, you can turn an ordinary denim jacket into a one-of-a-kind statement piece.
conclusion
Preparing your denim jacket for painting requires a bit of care and attention. By following these steps, you can ensure that your jacket will be properly prepared for painting, resulting in a beautiful and durable final product.
It’s also important to mention that you should always test your paint and sealer on a small, inconspicuous area of the denim jacket first to ensure that it will work properly before you start your project. This will also help you to ensure that the colour is what you expect and that you like the final result before you make a big commitment.